Setting Up Stripe Payments in React
A Comprehensive Guide to Integrating Stripe Payments in Your React App for Beginners
Integrating payment solutions effectively is crucial for developing commercial applications. Stripe, one of the leading payment services, offers developers a robust API to embed payment processing capabilities into their applications.
To accept payments, traditionally developers had to set up a backend server to handle the payment processing. However, with Stripe's client-only solution, developers can now securely accept payments directly from the client-side, eliminating the need for a backend server.
What is Stripe Checkout?
Stripe Checkout is a client-only payment solution that allows developers to accept payments without the need for a backend server. It provides a pre-built, customizable payment form that securely collects payment details from customers. Stripe Checkout handles the payment processing, ensuring that sensitive payment information never touches your server.
It also gives a user interface that is optimized for mobile and desktop devices, making it easy for customers to complete their transactions. Stripe Checkout supports various payment methods, including credit cards, Apple Pay, and more.
Stripe Checkout is hosted by Stripe
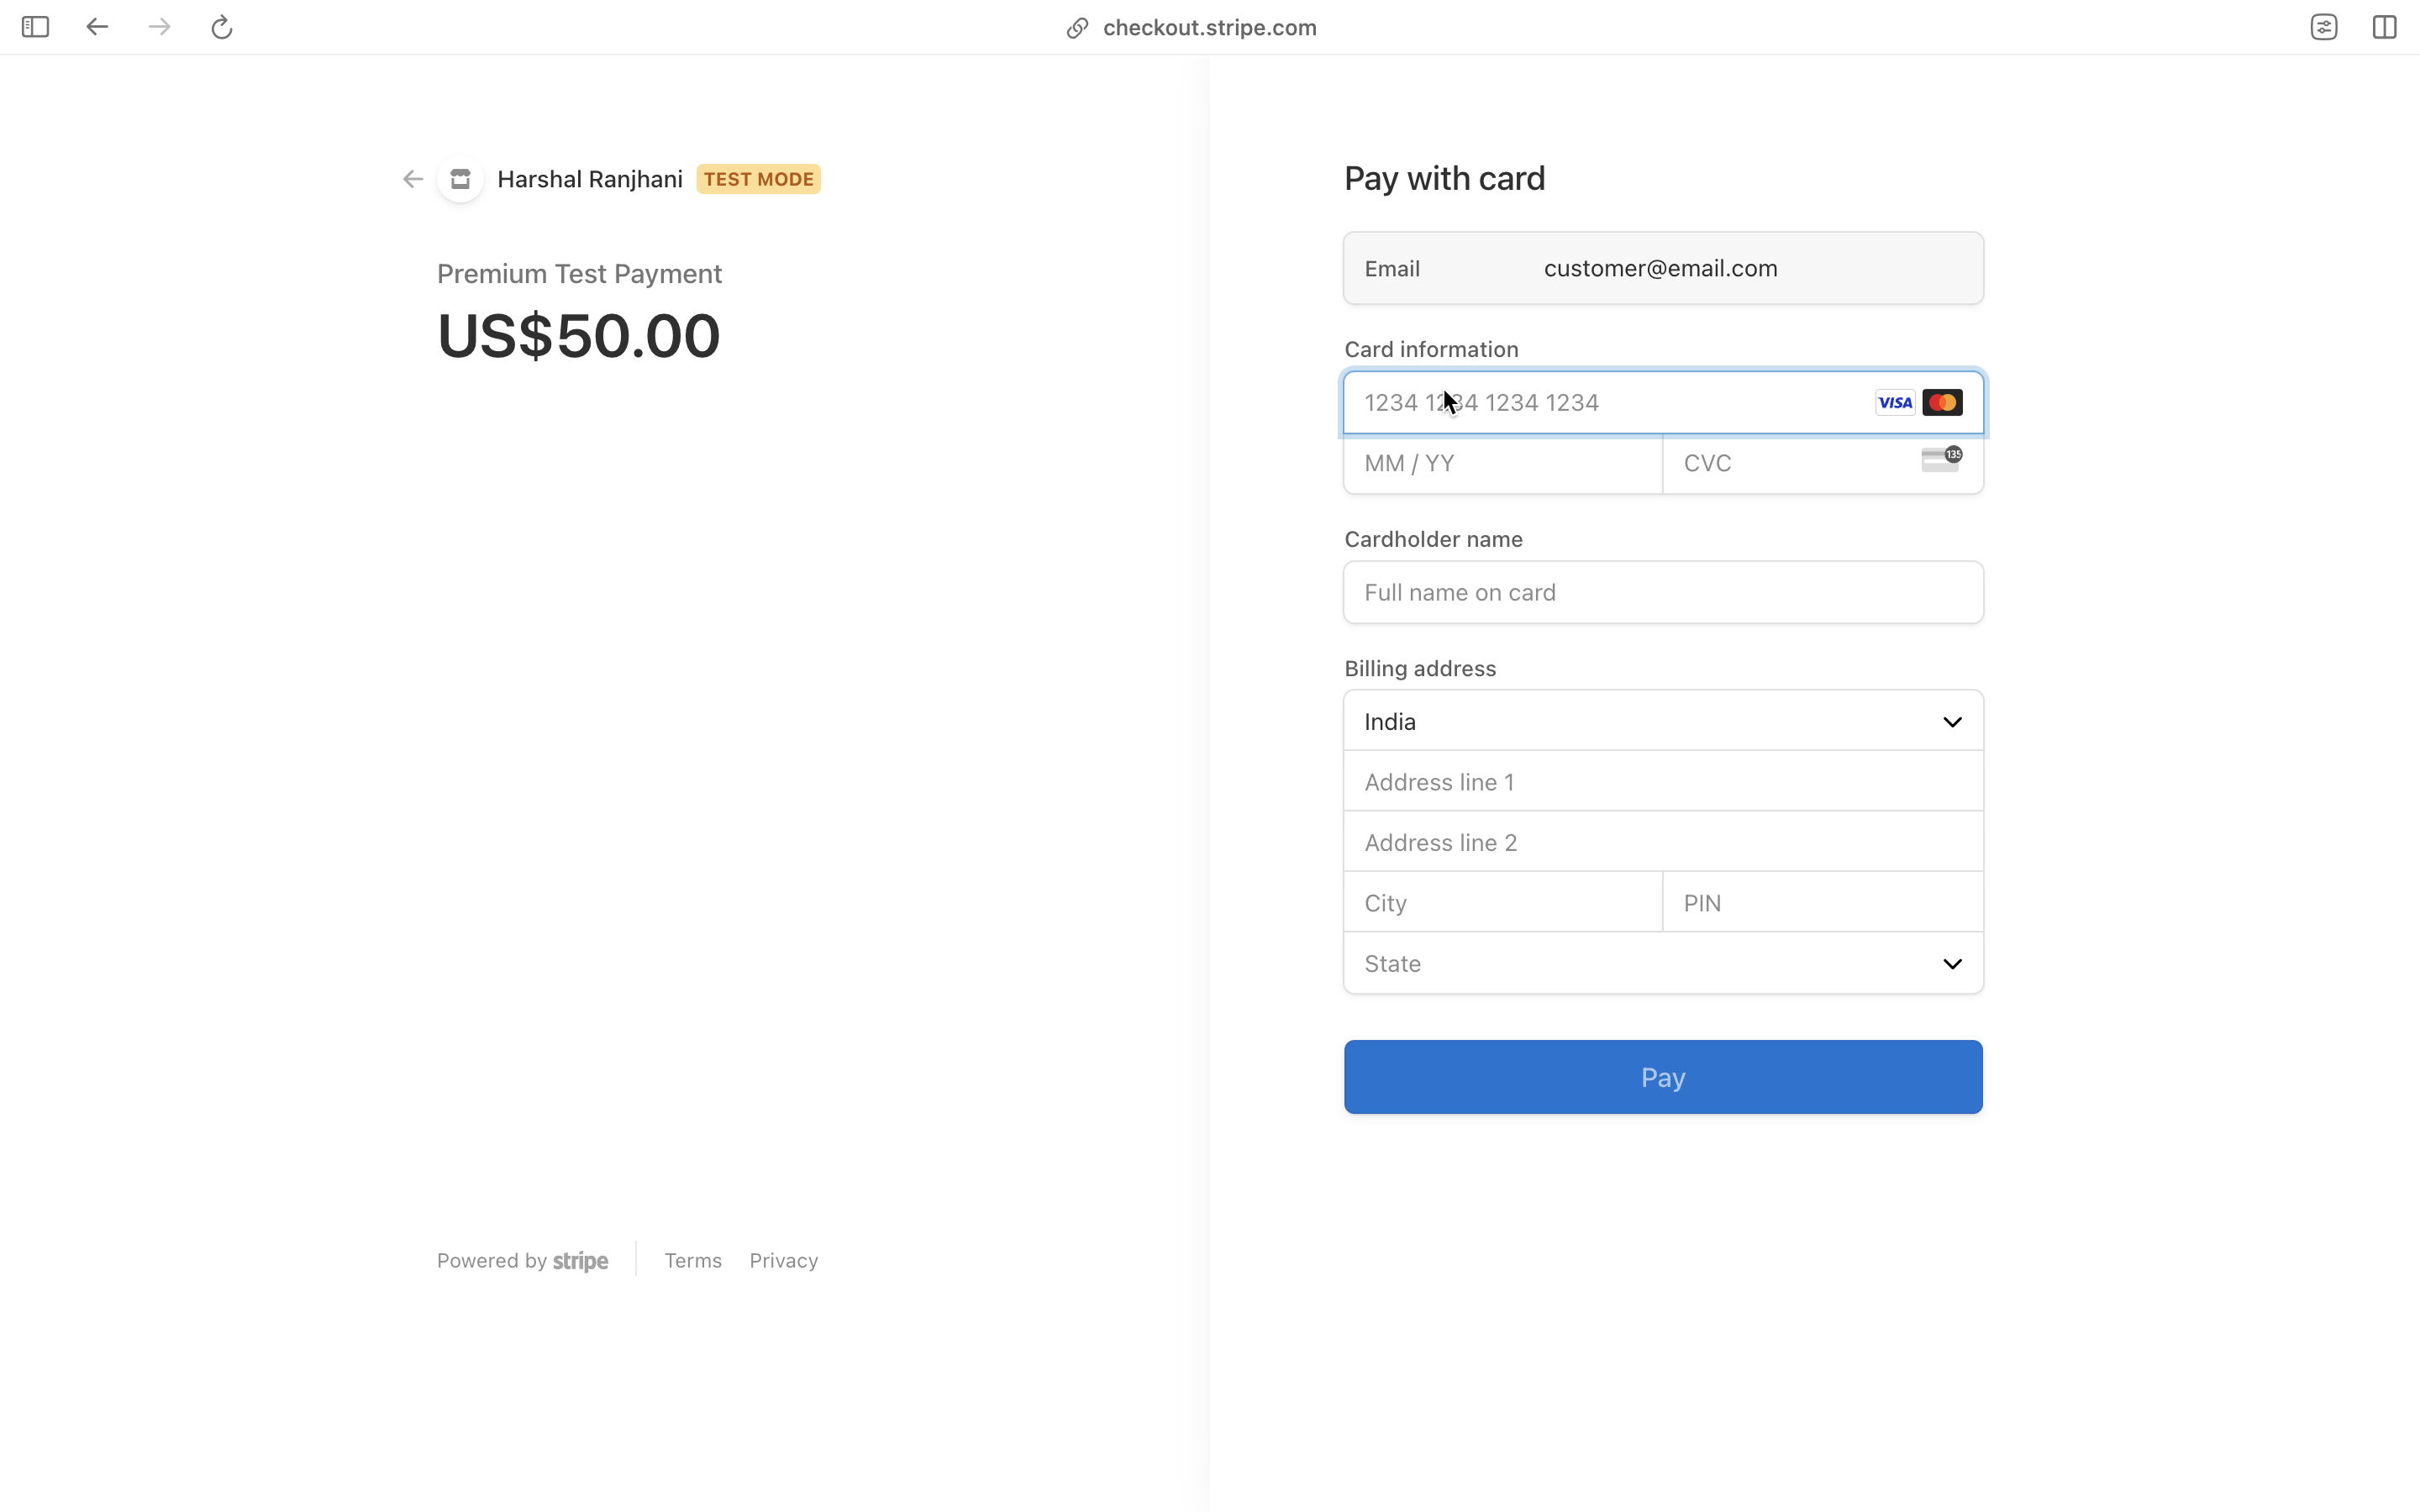
Stripe Checkout is a hosted solution, meaning that the payment form is hosted by Stripe. When a customer initiates a payment, they are redirected to a secure Stripe-hosted page to enter their payment details. After the payment is processed, the customer is redirected back to your website.
Setting Up a Stripe Account
Before you can start accepting payments with Stripe Checkout, you need to create a Stripe account. Visit the Stripe website and sign up for an account. Once you have created an account, you will receive an API key that you will use to authenticate your requests to the Stripe API.
Make sure that the test mode is enabled in your Stripe account to test payments without processing real transactions. You can switch to live mode when you are ready to accept real payments.
The next step is to create a payment link where you will add a new product and set up the payment details. You can customize the payment form to match your branding and specify the payment amount, currency, and other details.
On the API keys page (in test mode), you will find your publishable key and secret key. The publishable key is used to identify your account when making requests to the Stripe API from the client-side. The secret key is used to authenticate requests made from your server to the Stripe API.
The publishable key starts with pk_test_ and the secret key starts with sk_test_. Make sure to keep your secret key secure and never expose it to the client-side.
Integrating Stripe Checkout in React
Now that you have set up your Stripe account and obtained the publishable key, you can integrate Stripe Checkout into your React application.
Let's start by creating a react app with Vite using TypeScript:
pnpm create vite@latest
Next, install the Stripe SDK:
pnpm add @stripe/stripe-js
Once the Stripe SDK is installed, we will create a new folder and file within it lib/getStripe.ts:
import { loadStripe, Stripe } from '@stripe/stripe-js';

let stripePromise: Promise<Stripe | null>;
const getStripe = (): Promise<Stripe | null> => {
  if (!stripePromise) {
    stripePromise = loadStripe(process.env.NEXT_PUBLIC_STRIPE_PUBLISHABLE_KEY || '');
  }
  return stripePromise;
};

export default getStripe;The keys are stored in a .env file:
NEXT_PUBLIC_STRIPE_PUBLISHABLE_KEY='your_pk_test_key'
NEXT_PUBLIC_STRIPE_PRICE_ID='your_price_id'You can find the price ID in the Stripe Dashboard under the product you created.
In the App.tsx we create a button that will open the Stripe Checkout form:
import './App.css'

function App() {

  return (
    <>
      <button>Checkout</button>
    </>
  )
}

export default AppWe will now create a handleCheckout function which will open the Stripe Checkout form:
  async function handleCheckout() {
    const stripe = await getStripe();
    if (stripe) {
      const { error } = await stripe.redirectToCheckout({
        lineItems: [
          {
            price: 'price_1P92AaSEo9fNIGOa6fYgIkUt',
            quantity: 1,
          },
        ],
        mode: "payment", // here you can specify the mode as either `payment` or `subscription` for one time payments or recurring payments respectively
        successUrl: `http://localhost:3000/success`,
        cancelUrl: `http://localhost:3000/cancel`,
        customerEmail: "[email protected]",
      });
      console.warn(error.message);
    }
}Here, we are using the redirectToCheckout method to open the Stripe Checkout form. We specify the price ID, quantity, and other details such as the success and cancel URLs. You can customize these parameters based on your requirements.
You can specify additional properties such as customerEmail to pre-fill the email field in the payment form.
Finally, we add an onClick event to the button to call the handleCheckout function and you are ready to accept payments using Stripe Checkout in your React application.
This is an example of what you should see after clicking the button:

After the payment is processed, the customer will be redirected to the success URL you specified. You can handle the success and cancel URLs to display appropriate messages or redirect the customer to different pages based on the payment outcome.
Note: Make sure to enable client-only integration in your Stripe account settings to use Stripe Checkout.
Conclusion
Stripe Checkout provides a simple and secure way to accept payments in your React application without the need for a backend server. You can customize the payment form to match your branding and specify the payment details to meet your requirements. This unlocks a world of possibilities for developers to build e-commerce applications and accept payments seamlessly.