Exploring Three.js for 3D Web Development
Unlocking the potential of web-based 3D graphics through Three.js.
Resources: https://github.com/harshalranjhani/threejs-resources
What is Three.js?
Three.js is a popular JavaScript library that simplifies the process of creating 3D graphics on the web. It provides a wide range of features and tools that make it easy to build interactive 3D applications, games, and visualizations. Three.js is built on top of WebGL, a low-level API that allows you to render 3D graphics in the browser using the GPU.
At its core, Three.js provides a structured approach to 3D scene construction, encompassing everything from the creation of geometric shapes to the manipulation of cameras, lighting, and materials. It includes:
- Scenes: The spatial containers for 3D objects.
- Cameras: The viewpoints through which scenes are rendered.
- Renderers: The engines that draw the 3D visuals onto the screen.
- Geometry: The mathematical models defining the shape of objects.
- Materials: The visual properties of objects, such as color and texture.
- Lights: The elements that simulate illumination within the scene.
Why Three.js?
Choosing Three.js for 3D web development comes down to several pragmatic considerations. Here are some key reasons why developers opt for Three.js:
-
Simplification of 3D Graphics Programming: Three.js abstracts the intricacies of WebGL, allowing developers to create complex 3D visualizations without becoming experts in 3D graphics programming.
-
Cross-browser Compatibility: It handles the variability across web browsers and devices, ensuring consistent behavior and performance of 3D content.
-
Optimized Performance: The library is designed with performance in mind, enabling the efficient rendering of sophisticated 3D scenes.
-
Comprehensive Features: Three.js offers a wide range of features from basic to advanced 3D graphics techniques, allowing for the creation of rich interactive experiences.
Setting Up Your First Three.js Scene
Creating a basic 3D scene with Three.js involves a few simple steps. Here's what you need:
Prerequisites:
- Basic understanding of React.js.
- A modern web browser that supports WebGL.
Setting Up the Environment
Let's start by creating a new vite app. You can use the following command to create a new React app with vite:
pnpm create vite-app my-threejs-app --template react
To get started with Three.js, you'll need to include the library in your project. You can install three.js using the following command:
pnpm add --save three
Creating a Scene
A scene in Three.js is like a container that holds all your 3D objects, lights, and cameras. To create a new scene, you can use the following code snippet in src/components/Model.js:
import React, { useRef, useEffect } from "react";
import * as THREE from "three";

const Model = () => {
  const mountRef = useRef(null);

  useEffect(() => {
    const scene = new THREE.Scene();
    const camera = new THREE.PerspectiveCamera(
      75,
      window.innerWidth / window.innerHeight,
      0.1,
      1000
    );
    const renderer = new THREE.WebGLRenderer();

    renderer.setSize(window.innerWidth, window.innerHeight);
    mountRef.current.appendChild(renderer.domElement);

    return () => mountRef.current.removeChild(renderer.domElement);
  }, []);

  return <div ref={mountRef} />;
};

export default Model;The Model component creates a new Three.js scene with a camera and a renderer. It then mounts the renderer to a React ref using the useEffect hook. You can now import and use this component in your React app to display a basic 3D scene.
Here the PerspectiveCamera is used to define the field of view, aspect ratio, near and far clipping planes. The WebGLRenderer is used to render the scene to the DOM.
After following these steps you should have a basic Three.js scene set up in your React app. You can now start adding 3D objects, lights, and materials to create more complex scenes and animations.
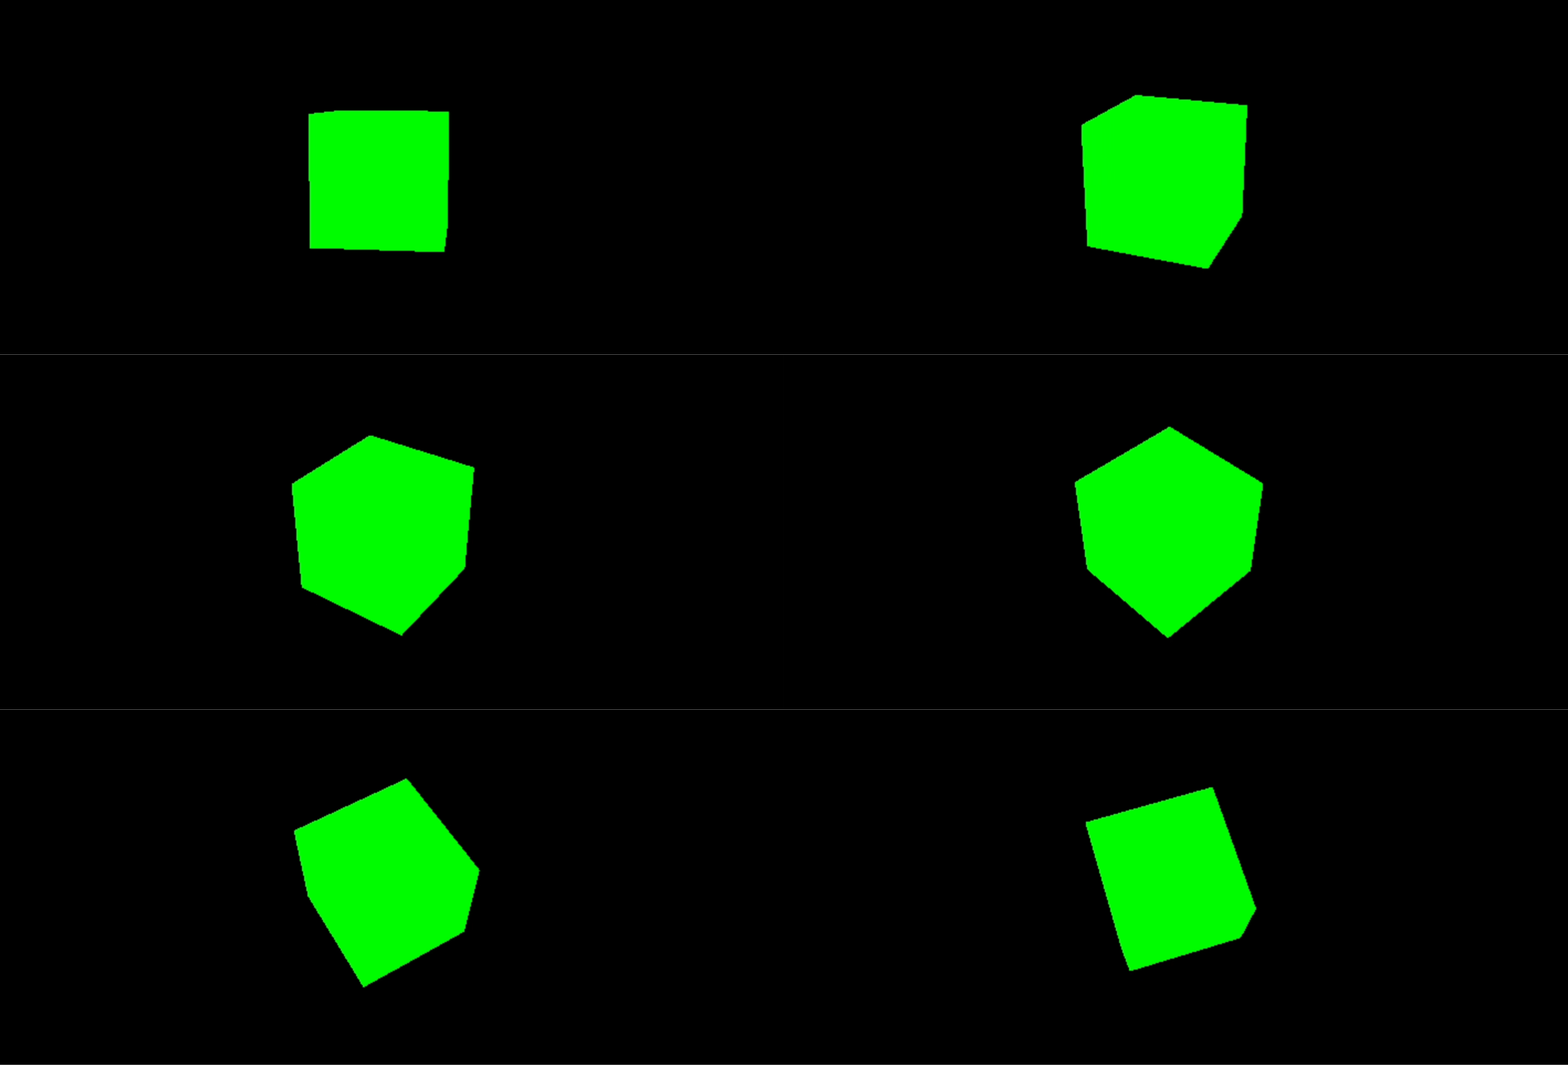
To add an animated cube to your component, you can use the following code snippet:
const geometry = new THREE.BoxGeometry(1, 1, 1);
const material = new THREE.MeshBasicMaterial({ color: 0x00ff00 });
const cube = new THREE.Mesh(geometry, material);

scene.add(cube);
camera.position.z = 5;

const animate = function () {
  requestAnimationFrame(animate);

  cube.rotation.x += 0.01;
  cube.rotation.y += 0.01;

  renderer.render(scene, camera);
};

animate();What this does is, it creates a new BoxGeometry and MeshBasicMaterial for the cube, adds the cube to the scene, and then animates the cube by rotating it on the x and y axes. The requestAnimationFrame function is used to create a loop that updates the cube's rotation and renders the scene on each frame.
You can play around with the camera position, cube size, material properties, and animation speed to create different effects and styles in your 3D scene.
If you're following along you should see something like this:

Drawing lines
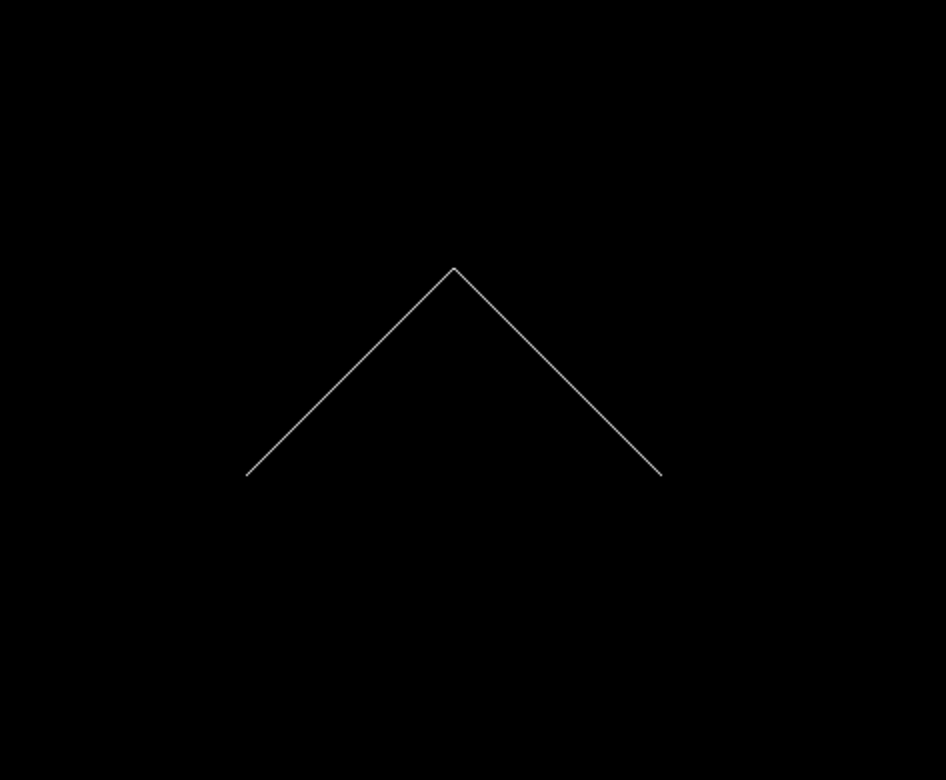
In Three.js, you can draw lines by creating a BufferGeometry and a LineBasicMaterial. Here's an example of how you can draw a simple line in your scene. You can add the following to src/components/Line.js:
const scene = new THREE.Scene();

const material = new THREE.LineBasicMaterial({ color: "white" });
const points = [];
points.push(new THREE.Vector3(-10, 0, 0));
points.push(new THREE.Vector3(0, 10, 0));
points.push(new THREE.Vector3(10, 0, 0));

const geometry = new THREE.BufferGeometry().setFromPoints(points);
const line = new THREE.Line(geometry, material);
scene.add(line);
renderer.render(scene, camera);You should see an arrow-like shape drawn in your scene:

Adding Textures and Materials
Three.js provides a wide range of materials and textures that you can use to style your 3D objects. Here's an example of how you can add a texture to a cube in your scene:
import textureUrl from "./texture.jpg";
const texture = new THREE.TextureLoader().load(textureUrl);
const material = new THREE.MeshBasicMaterial({ map: texture });Interactivity
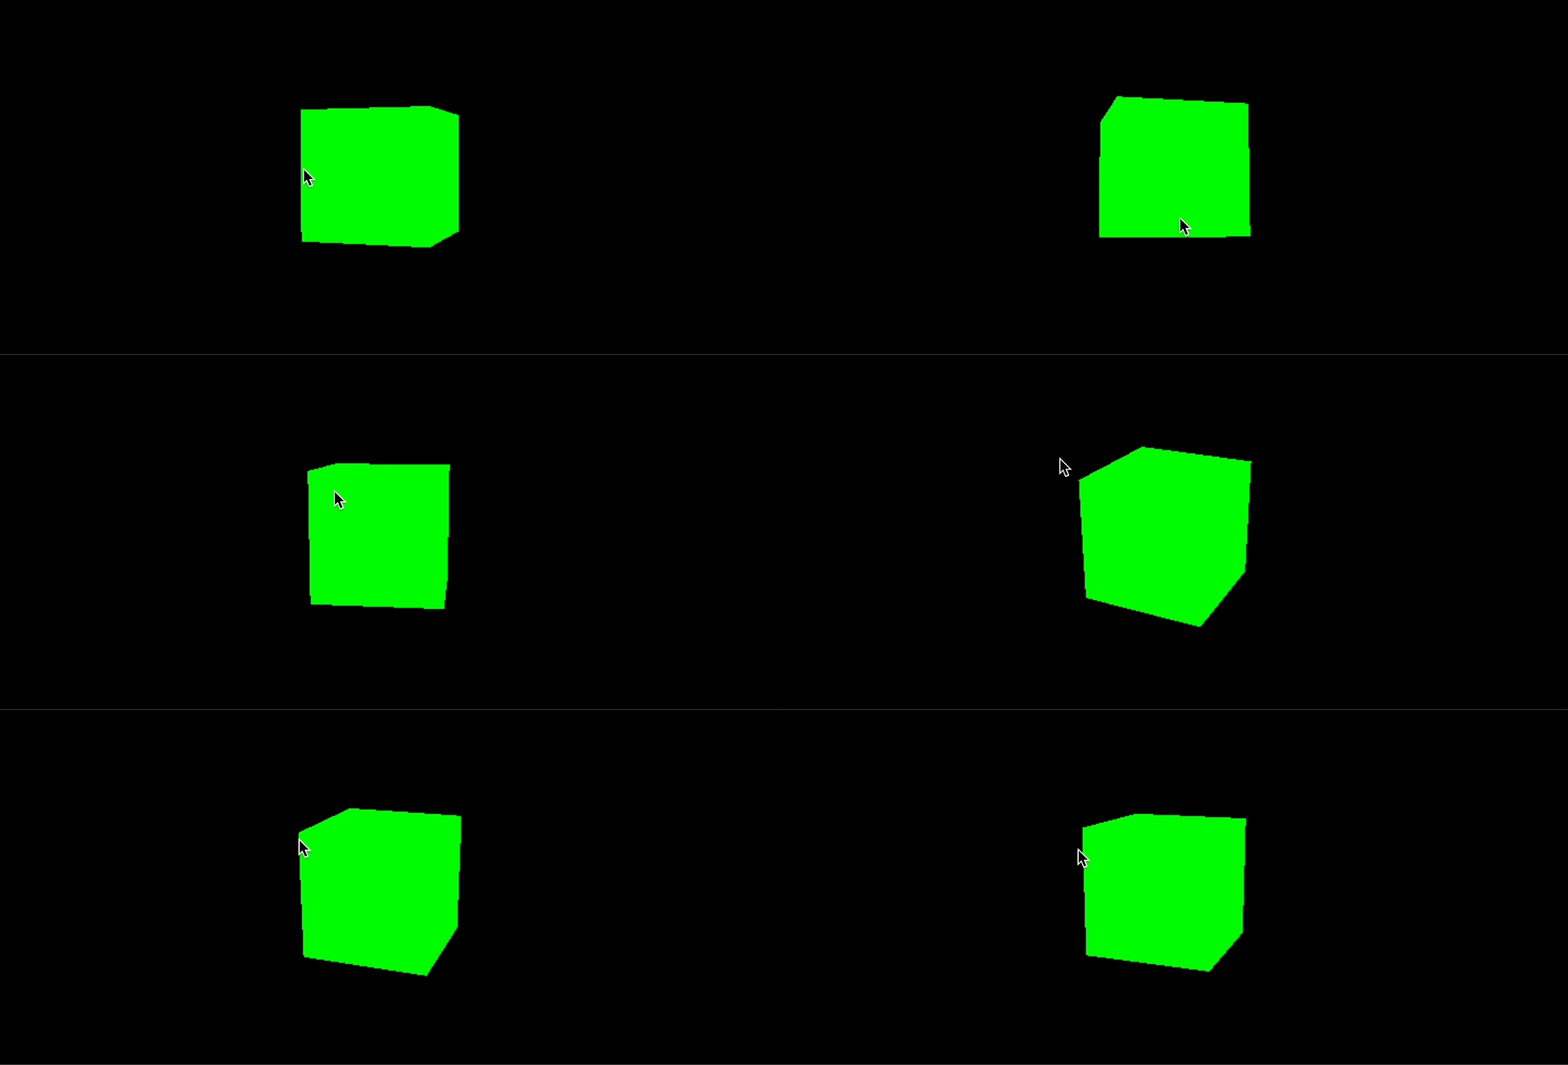
Adding basic interactivity, such as rotating an object with mouse movements, can greatly enhance the user experience. This involves listening to mouse events and updating the object's rotation accordingly. You can do this by event listeners and updating the object's rotation based on the mouse movement.
const onDocumentMouseMove = (event) => {
  event.preventDefault();
  const mouseX = (event.clientX / window.innerWidth) * 2 - 1;
  const mouseY = -(event.clientY / window.innerHeight) * 2 + 1;

  cube.rotation.x = mouseY * Math.PI;
  cube.rotation.y = mouseX * Math.PI;
  renderer.render(scene, camera);
};

document.addEventListener("mousemove", onDocumentMouseMove, false);The onDocumentMouseMove function listens for mouse movements and updates the cube's rotation based on the mouse position. This creates an interactive effect where the cube rotates in response to the mouse movement.
You should see the cube rotating based on your mouse movements:

Expanding Your Three.js Skills
Once you've mastered the basics, you can start experimenting with more complex shapes, adding textures and materials, and introducing interactivity. Three.js provides a wide range of geometries, materials, and APIs to interact with 3D objects, lights, shadows, and much more.
Conclusion
Three.js opens up a world of possibilities for 3D web development, allowing you to create immersive, interactive experiences with relative ease. While this guide covers only the basics, the extensive documentation and vibrant community surrounding Three.js offer a wealth of knowledge and resources to help you on your journey. Dive in, experiment, and see what incredible 3D experiences you can create for the web.